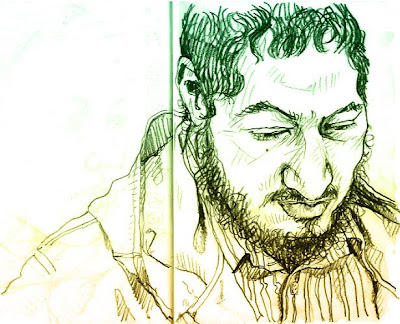
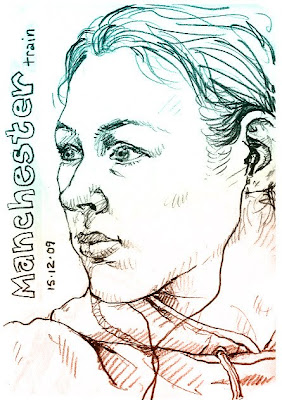
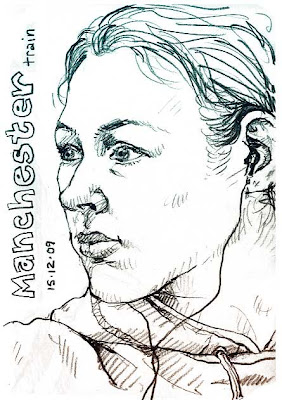
When I have a bit of time, I sometimes play with my pencil sketches in Photoshop. I have recently been tinting my sketches from the Manchester train:
In the past, people have asked how this is done. It's easy if you are at least a little familiar with Photoshop. Why not find yourself a drawing and have a go...
1: Make sure your sketch is RGB, not greyscale, then create a new layer above the drawing.
2: Choose 2 quite different colours. For the sketch above, I chose these:

3: Use Gradient Fill to create a colour blend on the new layer:

4: In your Layers Palette, change the light filter setting for the new layer (where it says Normal): set it instead to Color.
And there you go: Bob's your uncle! (whoever Bob is...).
For a more subtle tinting, that also won't pick up so much of the paper's 'background noise', try setting the light filter to Soft Light instead:
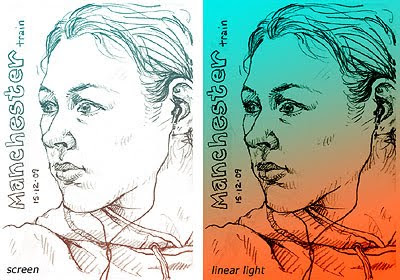
It's fun to try out the various filters when you're playing, as unexpected things can happen. Here are a couple of other immediate effects created by simply setting the filter to Screen and Linear Light:
Also, when I use wording on my sketches, I quite like to colour it in. For this I create another new layer to draw my colour on, and set the light filter to Multiply. I generally try out tints of the colours already used.

I think I like the third one best, created simply by changing the layer order, so that the new coloured wording was dragged between the other two. So here's my final piece:

9 comments:
Thnaks for the info Lynne
Brilliant!!! thank you for sharing this information. I'm going to try this out!
I like this very much. Thank you. I found you through Rose's blog. I would love to be able to do more with my Photoshop.
Had to come back and thank you again... I tried it and it worked wonderfully. What a difference this makes!!
Excellent news Lisa - glad it worked!
Great info, Lynne! I am such a fan of your work, tinted or un.
Thanks Laureline!
Thanks so much for sharing this little trick. I am having so much fun with it. So easy!
This is a very good tips especially to those new to blogosphere, brief and accurate information… Thanks for sharing this one. A must read article columbia sc window tint
Post a Comment